Alignment Pins
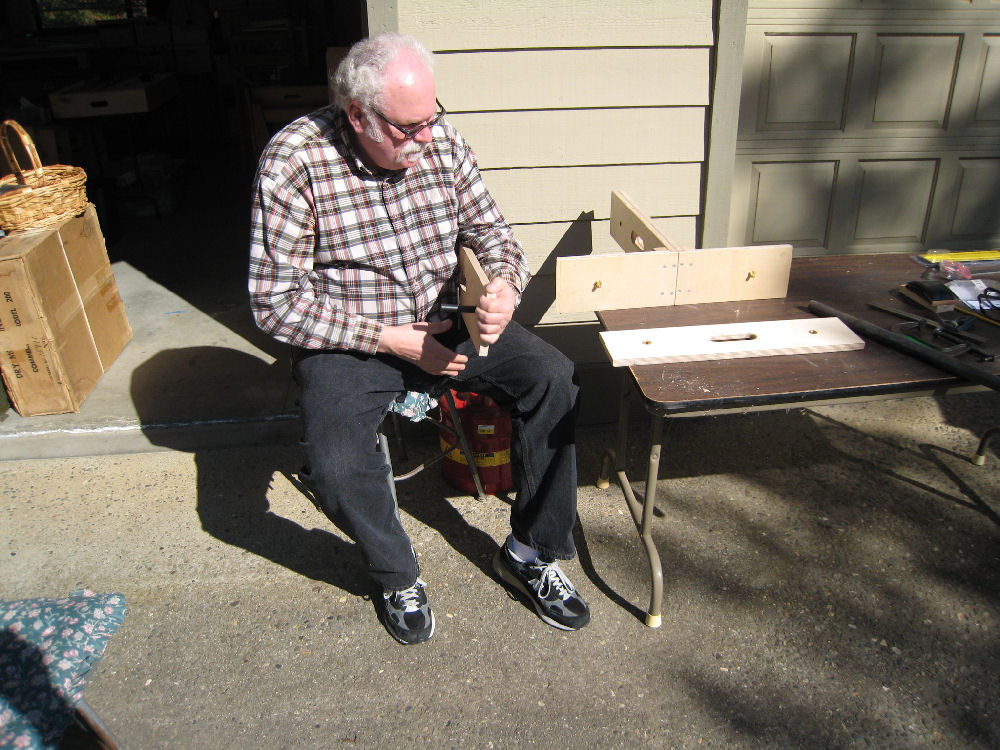 Jere is installing one of the fittings. It takes a "cheater" to turn the fittings in all the way. They fit very tightly. A recess of about 3/64" deep was required to act as a countersink for the top edge of the fittings so that they didn't protrude above the surface of the end plates. |
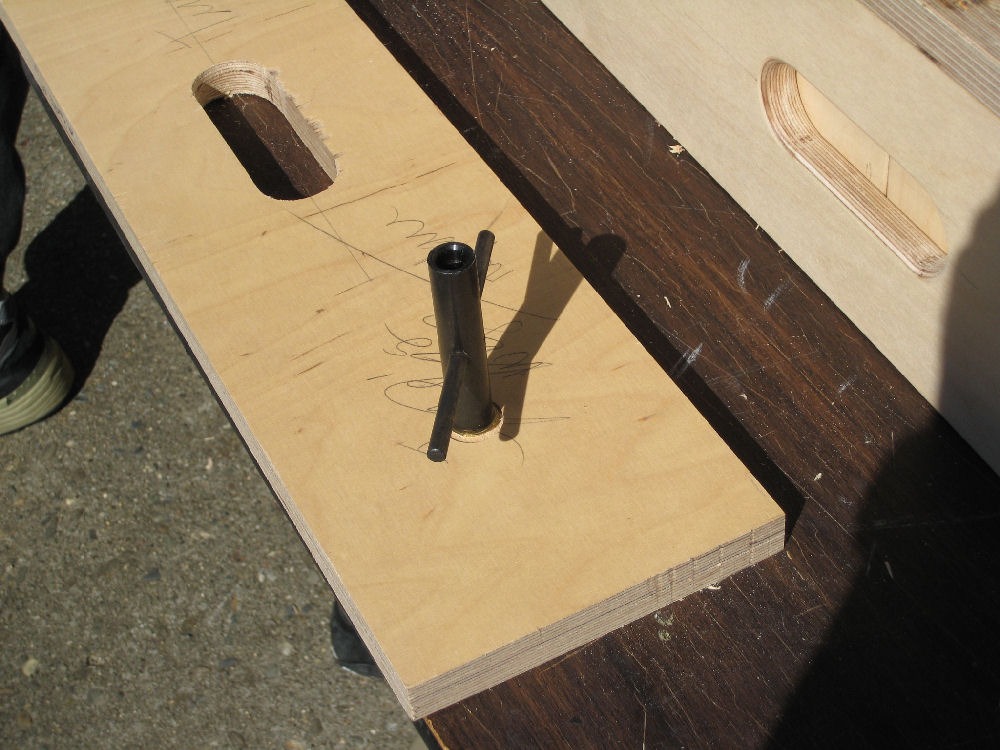 This is the tool used to install the fittings. One end fits the female fittings and the other end fits the male fittings. |
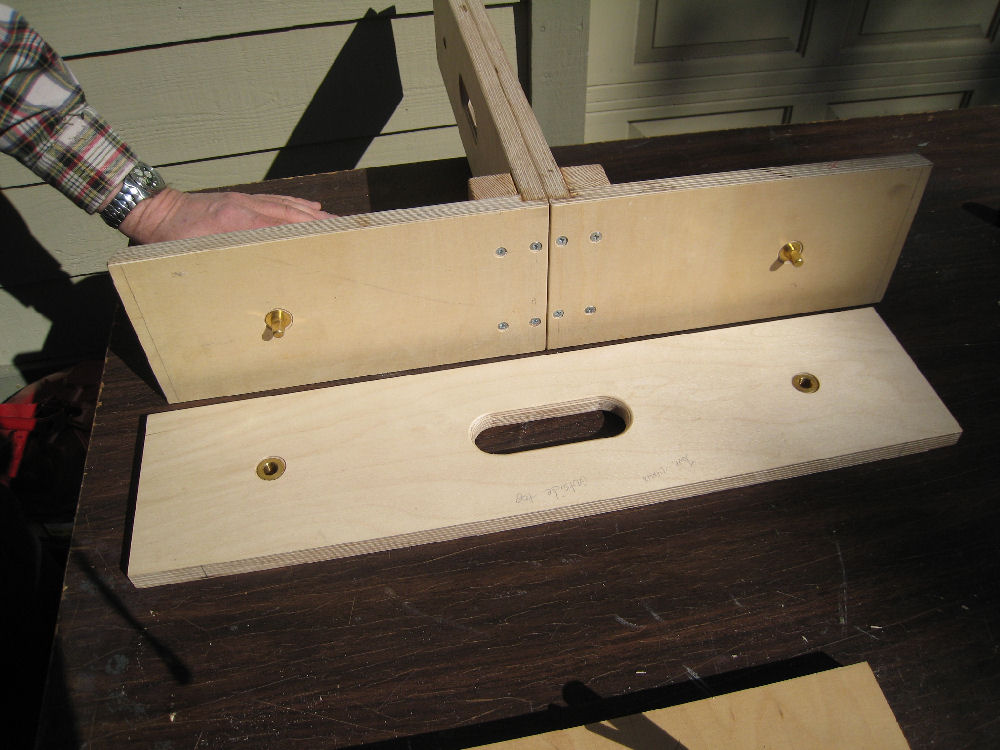 Here are the two mating pieces ready for assembly. The 3/64" deep recesses, cut with a Forstner bit, can be seen in this photo. The end plates are 3/4" baltic birch plywood. |
 The endplates are now assembled together. The play is very, very small. It's important to mention that the pins will not insert into the sockets if they are misaligned, either vertically or horizontally. They will work for final, precise alignment, not for rough alignment. |
 Here's a look at the backside of mated end plates. We have no idea how the pins and sockets will wear (if at all) over time. |
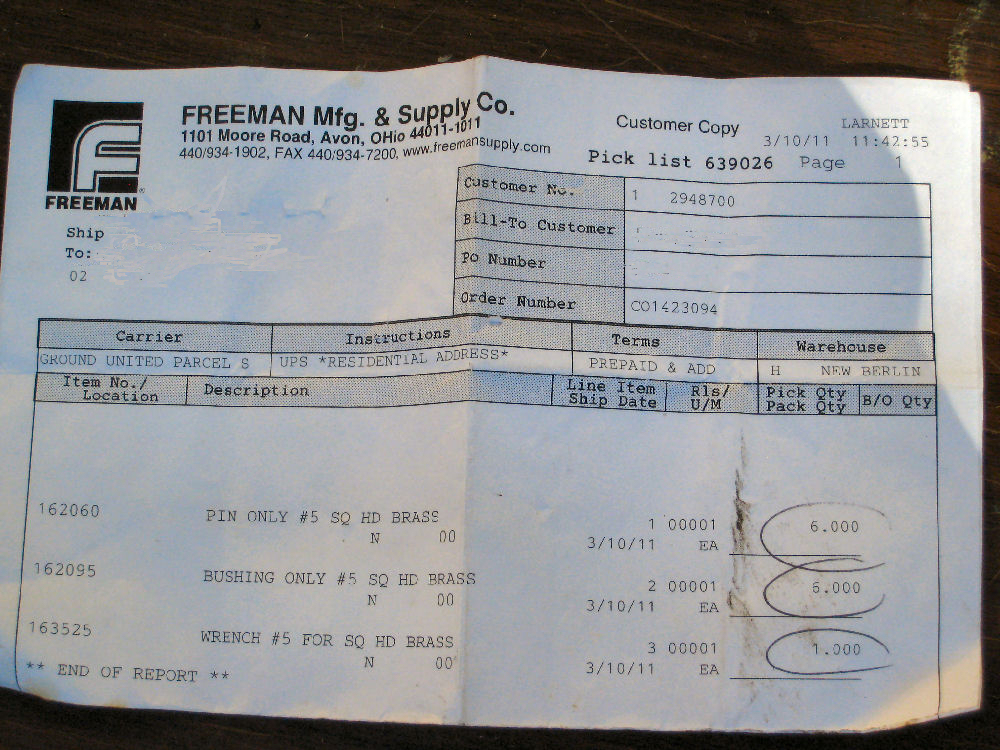 The supplier information. We found the prices more reasonable than expected. |
The installation process followed this procedure, using a drill press for each step:
1. Clamp the matching end plates together in perfect alignment and drill a 3/32" pilot hole at each fitting location.
2. Remove the clamp(s) and drill the 3/64" deep recess on the mating faces using a Forstner bit using the pilot hole for location.
3. Re-align and re-clamp the end plates, using the 3/32" hole to help with alignment as needed. Drill the 9/16" hole for the brass fittings.
4.Install the fittings and test. They worked perfectly each of the two times we followed the process.